The Getting started checklist
The short list of things to set up first, and where to find each one.
The Getting started checklist shows what's left to set up. Each step has a button that takes you to the right page, and the list hides itself when everything is done.
Open the checklist
- On the Home page, it shows at the top until you finish it.
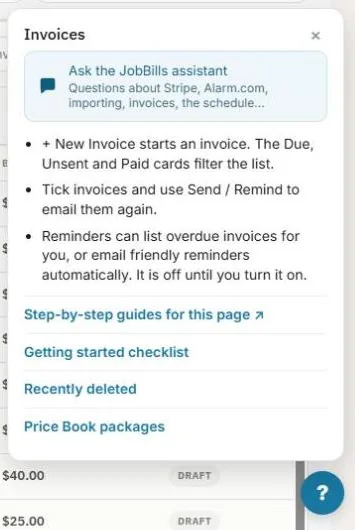
- On any page, press the round ? button (bottom right) and choose Getting started checklist.
The steps
- Add your business details. Your name, phone and address print on every estimate and invoice. See Add your business details and logo.
- Upload your logo. It goes on estimates, invoices and emails.
- Connect Stripe to get paid online. Customers pay invoices by card, and you can charge saved cards. See Connect Stripe.
- Add your customers. Import them or add them one at a time. See Add a client.
- Set up your items. Upload your price list from a spreadsheet, or add the parts and labor you sell. See Add items to your items.
- Send your first estimate. See Create an estimate.
- Invite your team. Techs get their own login and never see your costs. See Add your team.
Tip: You don't have to do the steps in order, and you can start using JobBills right away. Steps you haven't finished just stay on the list.
Was this guide helpful?
Related guides
How to add your business details and logoHow to connect Stripe to get paid onlineHow to add a clientHow to add items to your itemsStill stuck? Inside JobBills, press the round ? button to ask the help chat, or email [email protected].