How to add your business details and logo
Put your business name, phone, address and logo on every estimate, invoice and email.
Add your details
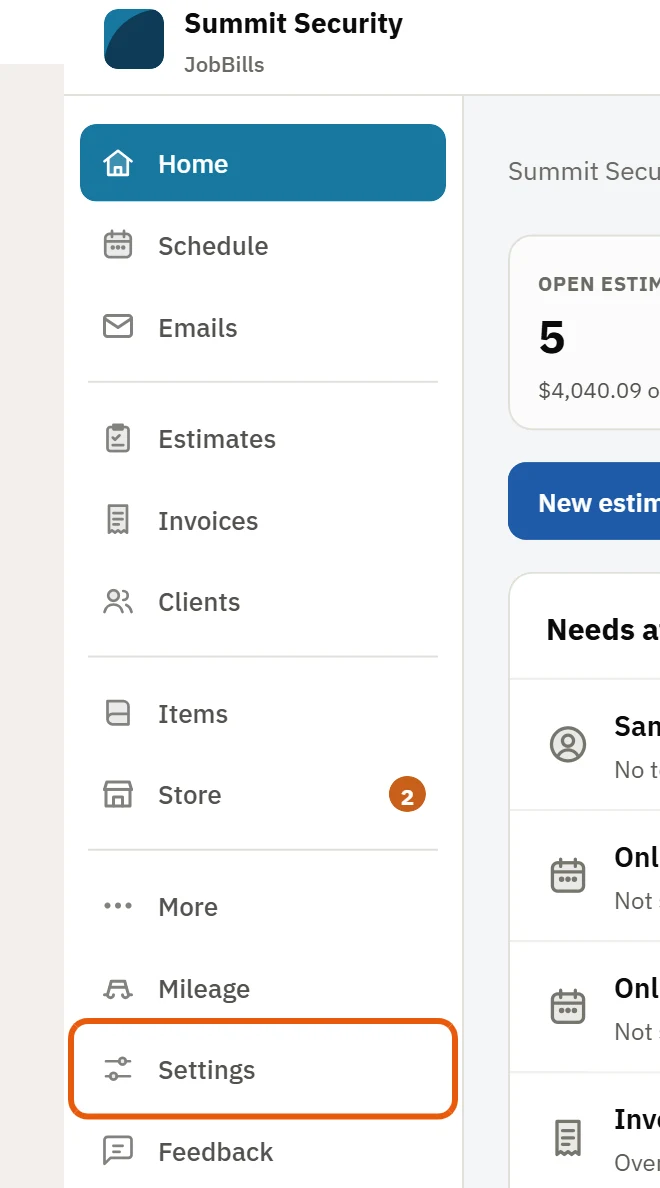
- In the left menu, press Settings. On a phone, open the menu and press Settings.
- Find the Business Info card.
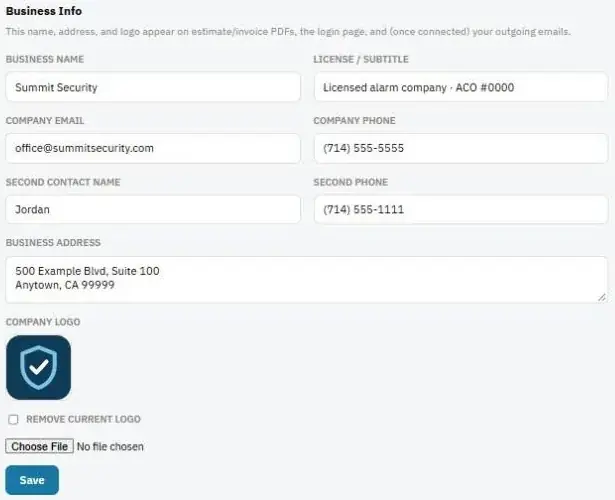
- Fill in Business Name, License / Subtitle (for example your contractor license number), Company Email, Company Phone and Business Address.
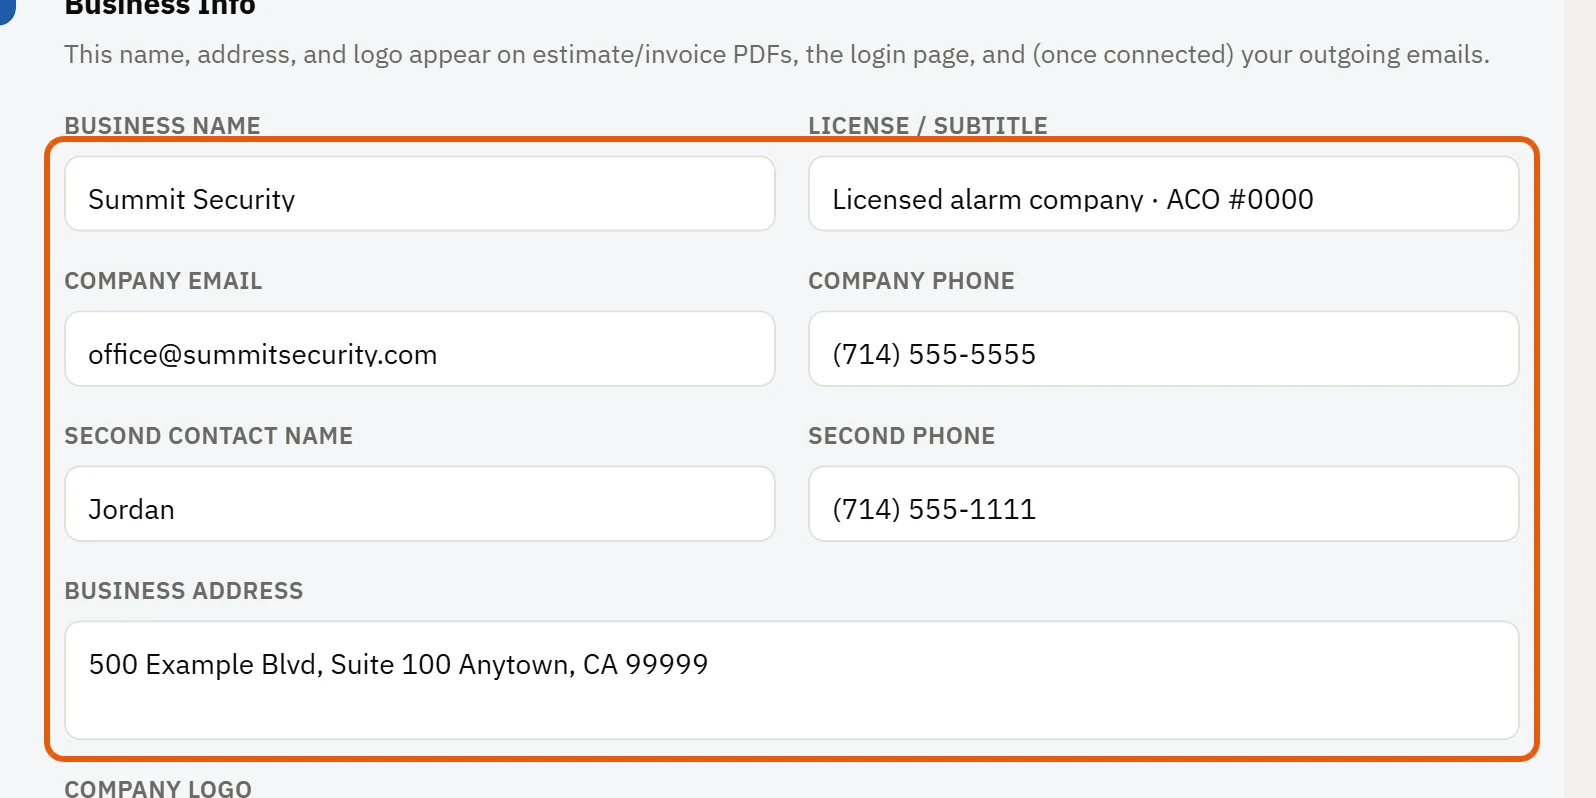
- If someone else takes calls too, add a Second Contact Name and Second Phone.
- Press Save.
Add your logo
- In the same Business Info card, under Company Logo, choose your logo file. A PNG or JPG with a plain or clear background looks best.
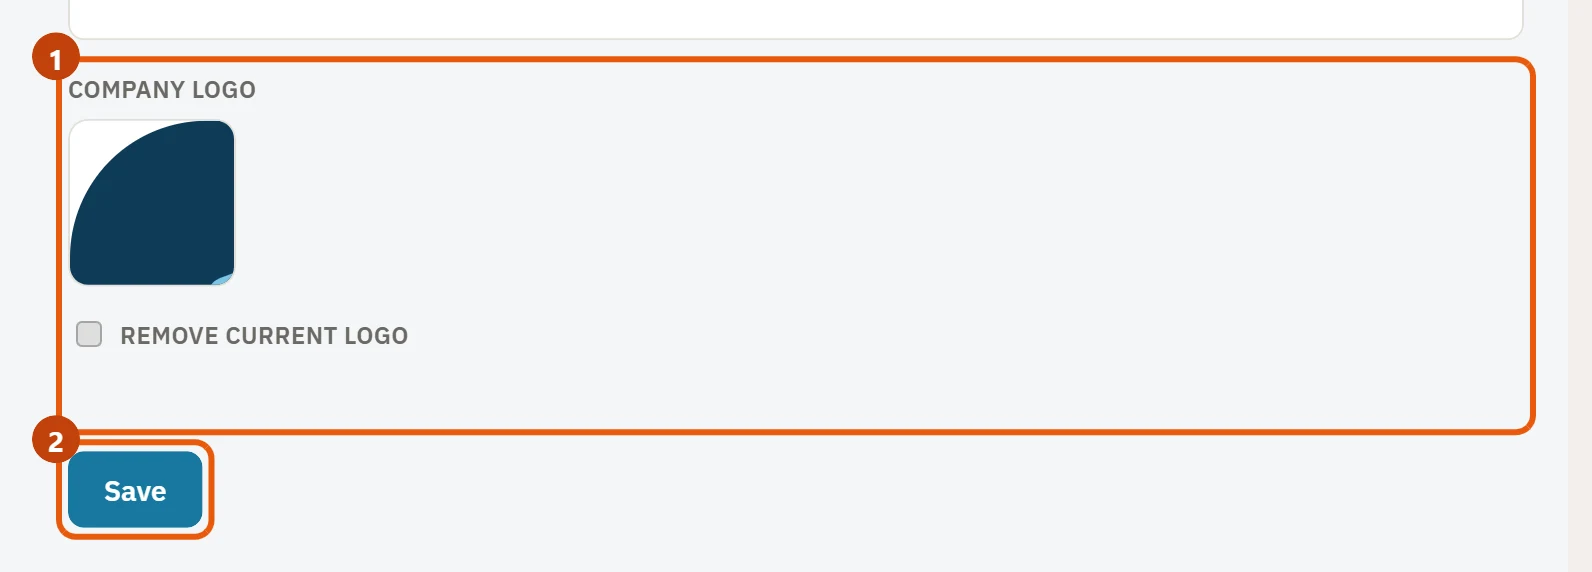
- Press Save.
To remove it later, check Remove current logo and press Save.
Set your time zone and payment terms
Further down the Settings page, under Account Preferences:
- Account Time Zone controls every time in the app: the schedule, timesheets and invoices.
- Default Payment Terms sets when new invoices are due (for example Net 14 or Due upon receipt). You can still change it on each invoice.
Note: Only the business owner (and partners) can change these settings.
Was this guide helpful?
Related guides
The Getting started checklistHow to turn features on or offHow to send email and answer customers from the Emails pageStill stuck? Inside JobBills, press the round ? button to ask the help chat, or email [email protected].