How to add a client
Add a customer with their contact info, service address and billing address.
Add a client
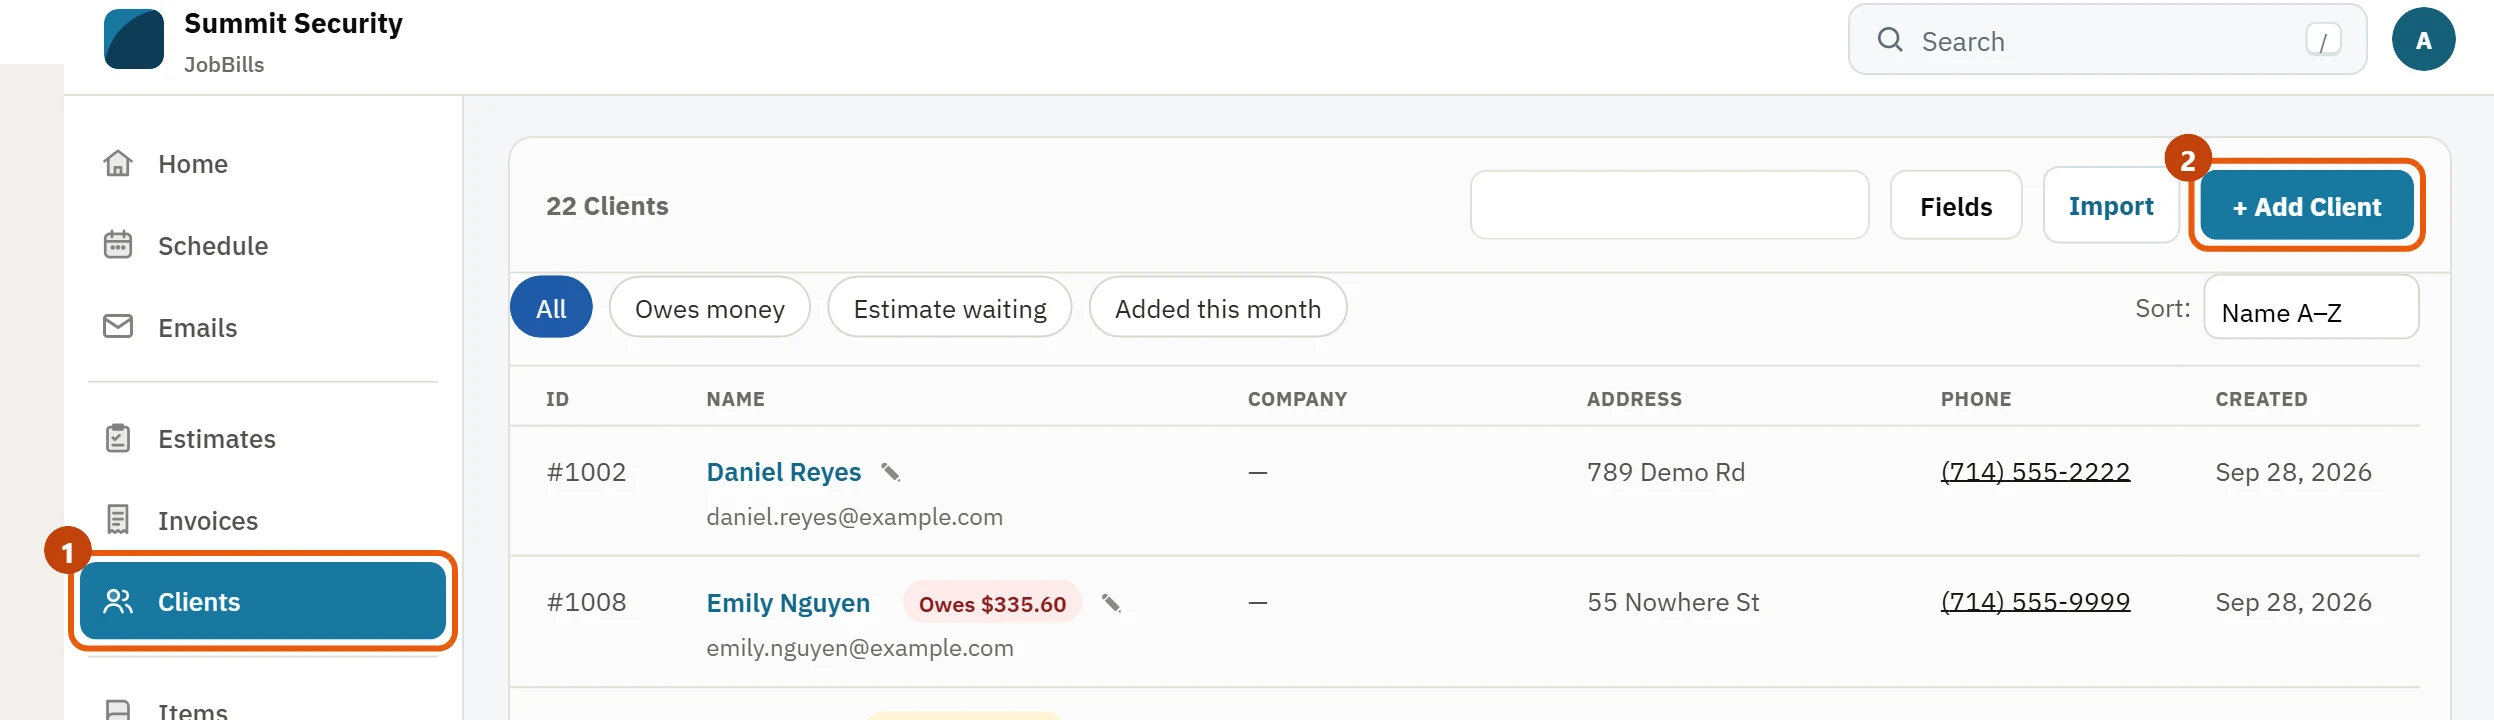
- Go to Clients and press + Add Client. On a phone, press Create and choose Client.
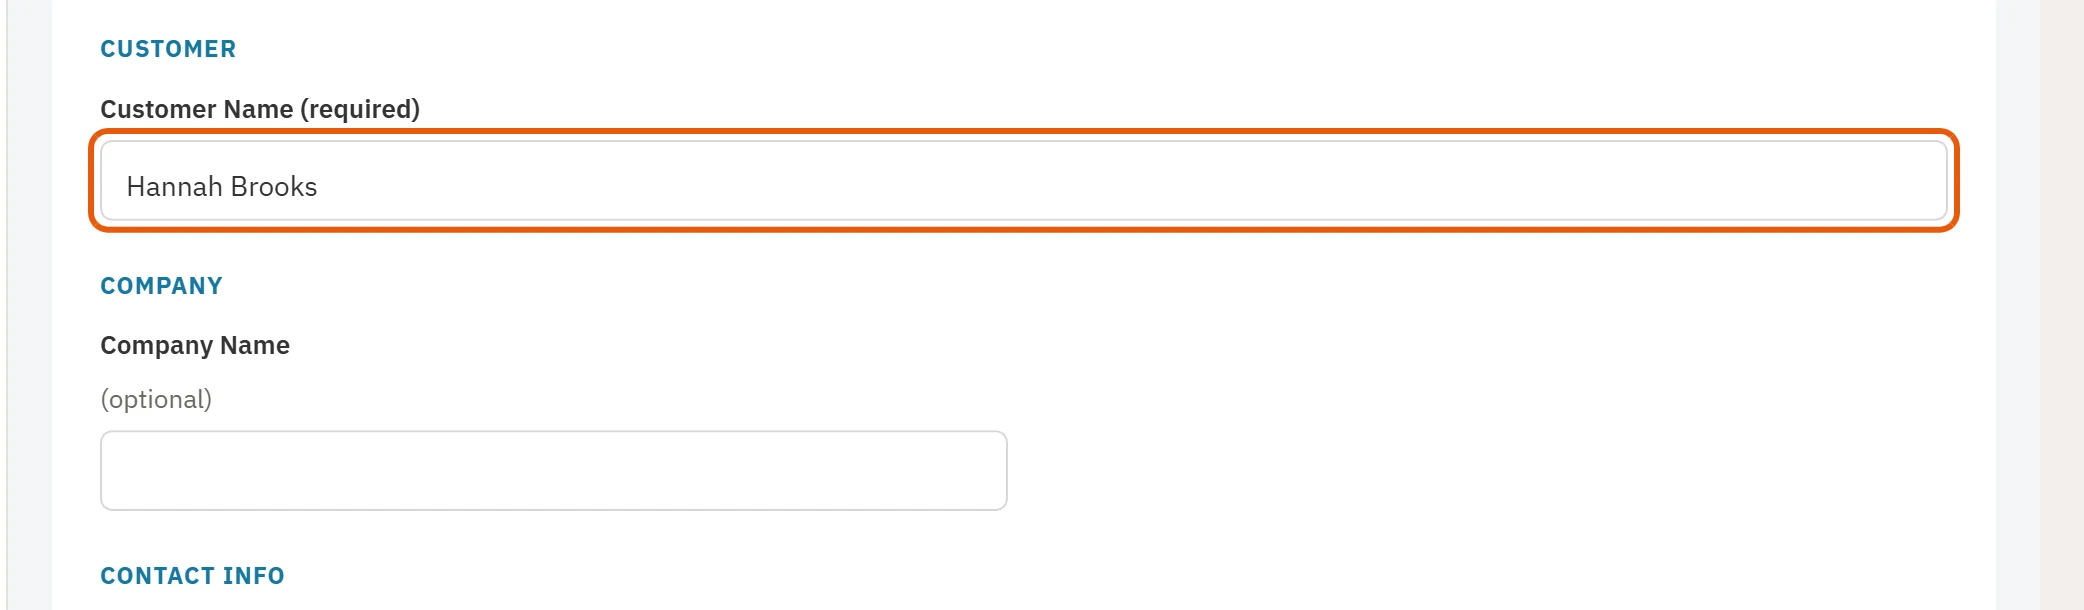
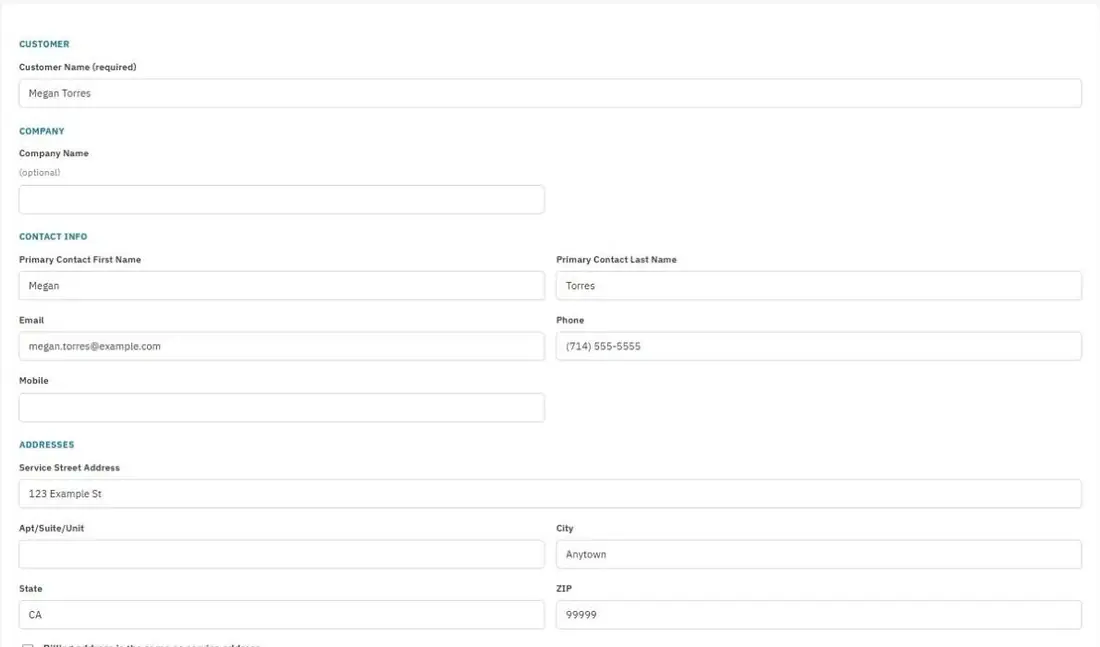
- Type the Customer Name. This is the only required field. For a business, add the Company Name too.
- Add the primary contact's first and last name, Email, Phone and Mobile.
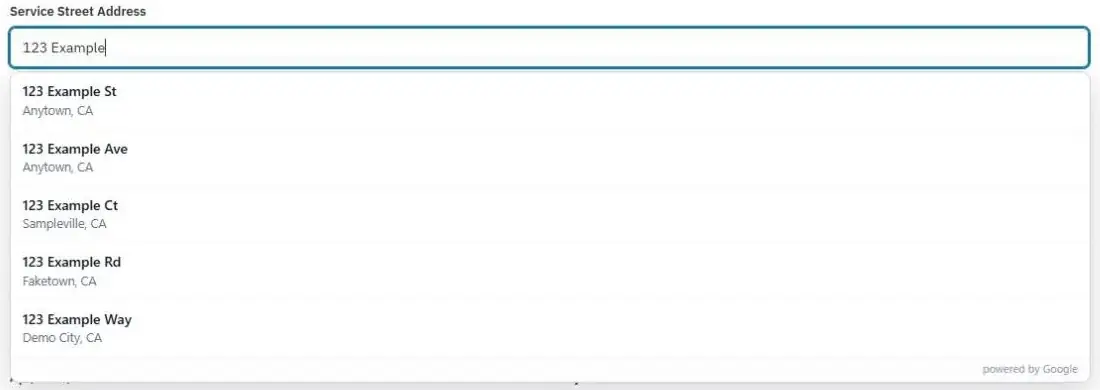
- Under Addresses, start typing the Service Street Address, the place where you do the work. Pick the right address from the suggestions and the city, state and ZIP fill in for you.
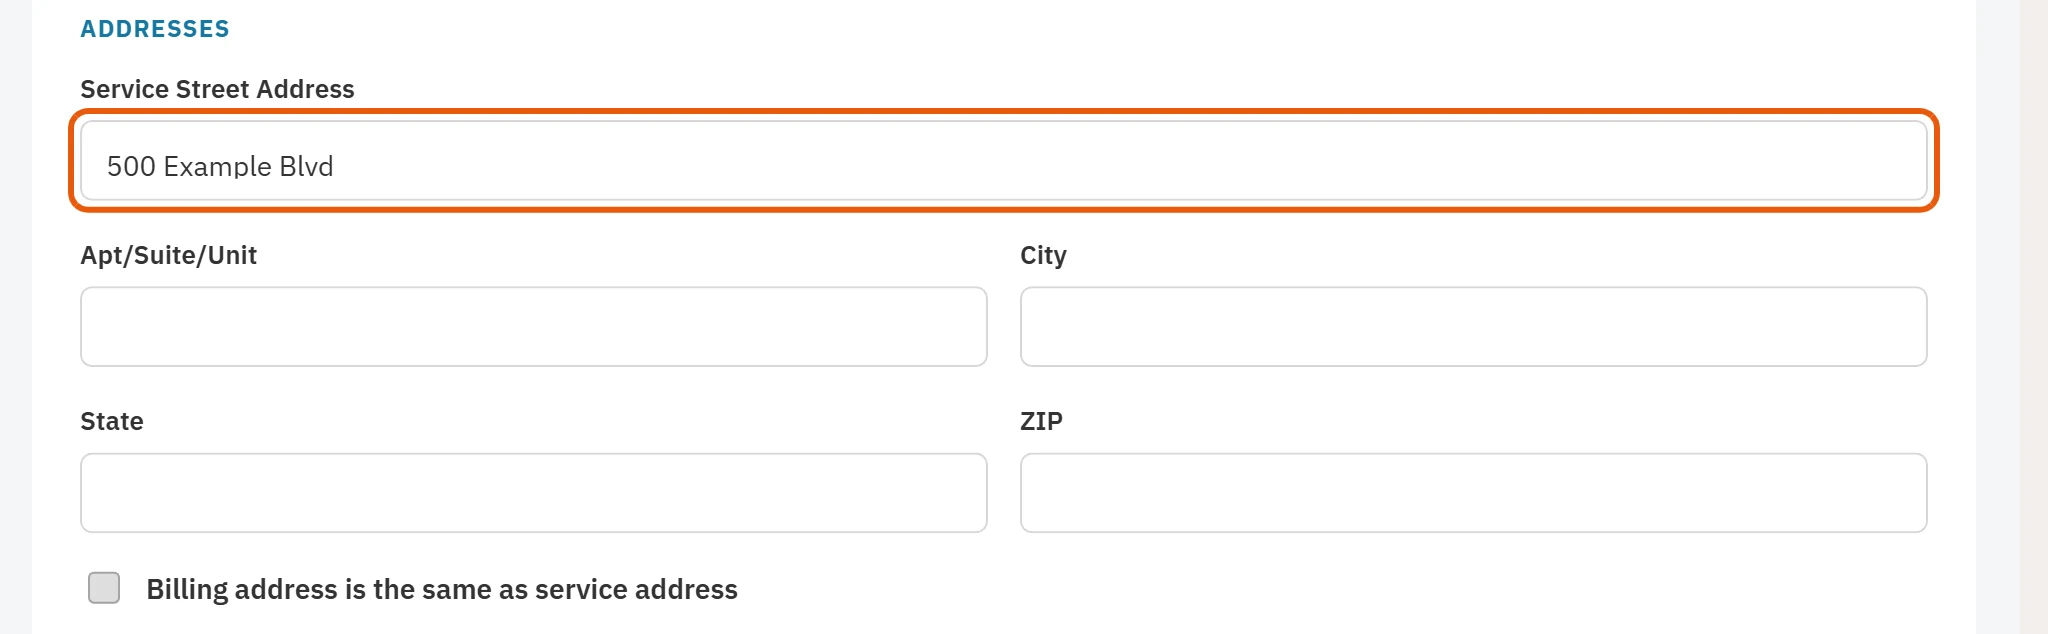
- If invoices go to the same place, check Billing address is the same as service address. If not, fill in the billing address.
- If the property has a property manager, check This property has a property manager and add their name, phone and email.
- Press Save Client.
Tip: The email address matters. It's where estimates, invoices and client portal sign-in codes are sent.
Client language
On the client's page, under Language, choose Español if the client prefers Spanish. Their estimate and invoice PDFs, the emails you send them and their invoice or estimate page come out in Spanish.
Sales tax rate
When sales tax is on, each client gets the tax rate for their service city automatically. You can type a different rate on any client, for example 0 for a tax-exempt customer. See Set up sales tax.
Note: Adding or editing a client never emails or charges them.
Was this guide helpful?
Still stuck? Inside JobBills, press the round ? button to ask the help chat, or email [email protected].