How to organize items with categories and brands
Group your items into categories and sub-categories, tag items with a brand, and add a whole category to an estimate at once.
A long Items is easier to use when items are grouped. Categories work like folders (for example Cameras › Outdoor); brands tag who makes the item (for example Qolsys or Honeywell).
Create categories
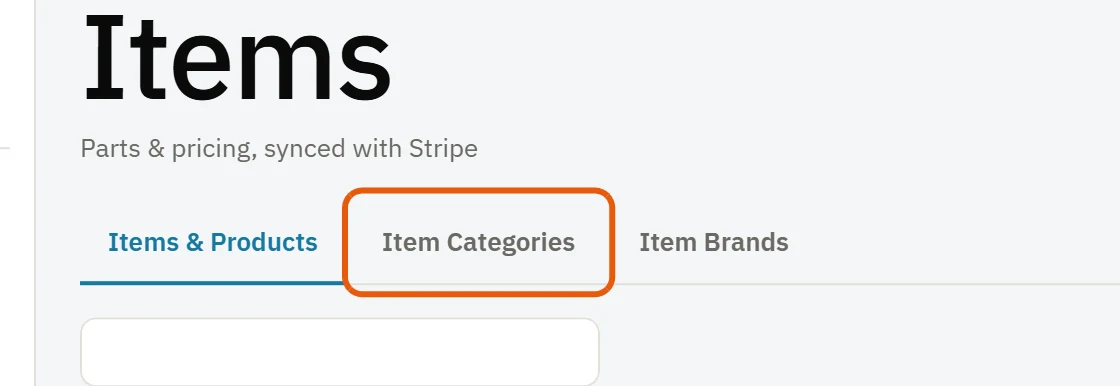
- Open Items and press the Item Categories tab.
- Press + Add New, type the name and, for a sub-category, pick its Parent Category. Leave No parent (top-level) for a main category.
- Press Save Category.
Categories can go several levels deep. Rename or delete one from the same tab; deleting a category never deletes its items.
Create brands
Press the Item Brands tab, then + Add New, type the brand and press Save Brand.
Put items in a category or brand
- One item: open the item, choose its categories under Categories and its brand under Select brand…, then Save Item. An item can be in more than one category.
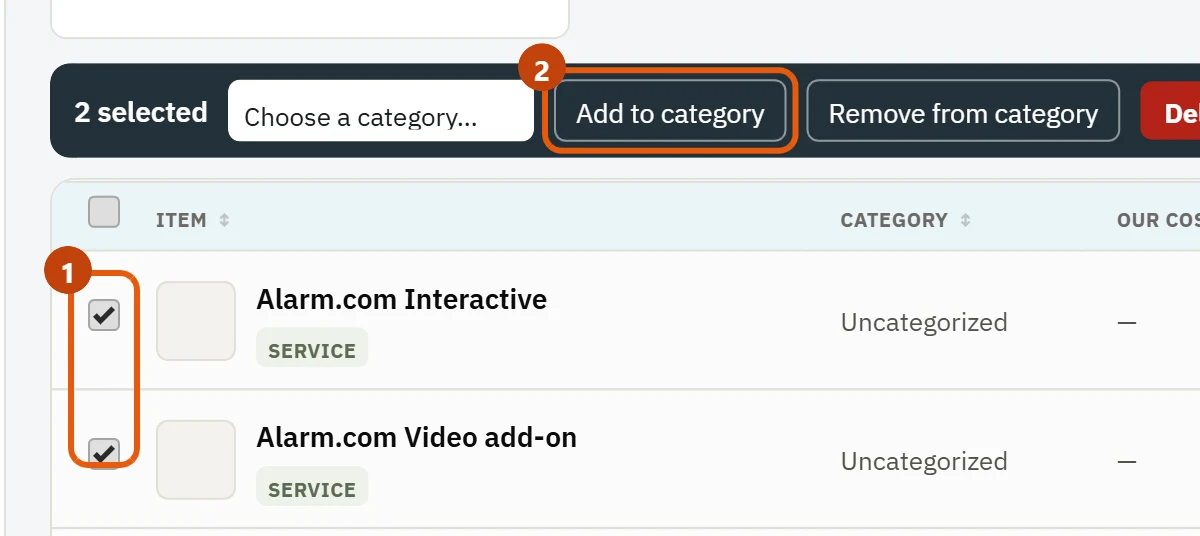
- Many at once: on the Items & Products tab, tick the items, then press Add to category or Remove from category.
Use them when you quote
On an estimate or invoice, press Browse Categories to see a category's items and add them. Press Add Selected Category to add everything in it in one go, then delete the lines you don't need.
Tip: If you sell the same set of items together, a package is faster still. See How to create packages.
Was this guide helpful?
Related guides
How to add items to your itemsHow to create packagesHow to track inventory in your warehouse and trucksHow to create an estimateStill stuck? Inside JobBills, press the round ? button to ask the help chat, or email [email protected].