Invoice numbers, invoice date and PO number
Use a running number with an optional prefix, pick the next number, and add an invoice date and PO number.
Every business gets its own running invoice number. New invoices start at 1001 and count up (1001, 1002, 1003…). Invoices you made before keep their numbers.
Change the next number or add a prefix
- Go to Settings → Account Preferences and find Invoice numbers.
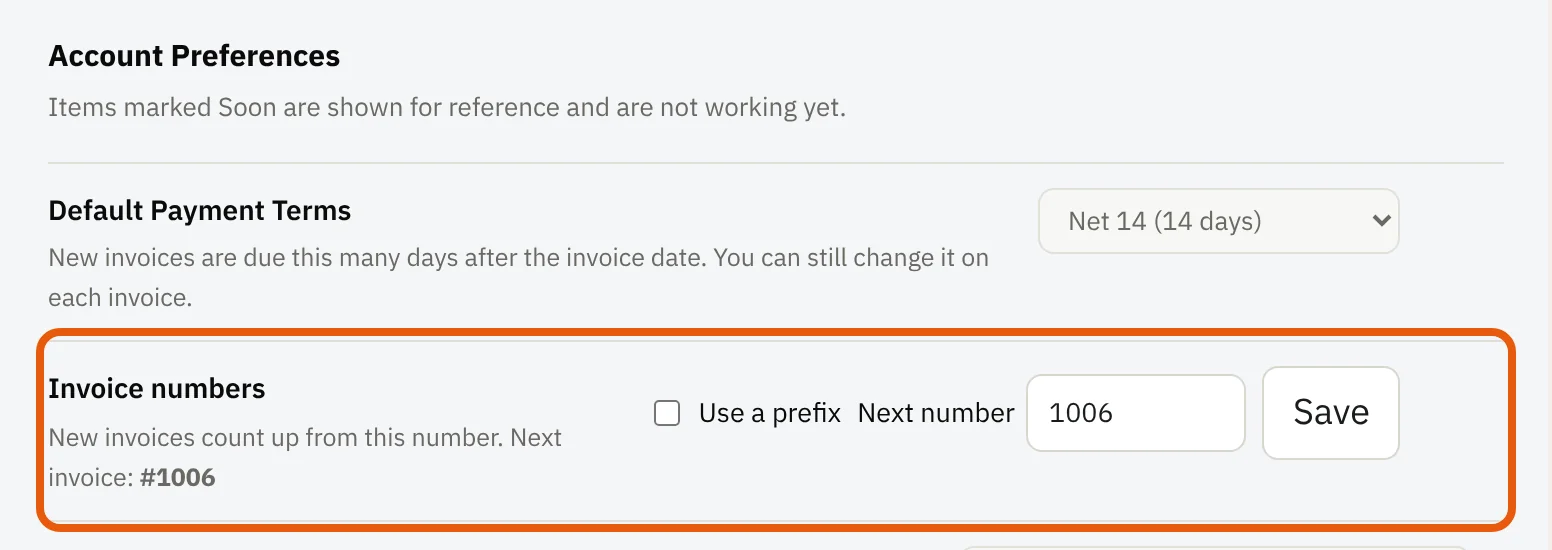
- To put letters in front of the number, check Use a prefix and type it, for example SS-. Invoices then look like SS-1001.

- To start from a different number, type it in Next number, for example 5000.

- Press Save. The line under Invoice numbers shows what your next invoice will look like.
Note: The next number has to be higher than every number you've already used, so two invoices never share a number. If you pick one that's taken, JobBills shows the lowest one you can use.
Tip: Changing the prefix only changes new invoices. Invoices you already made keep the number they were given.
Invoice date and PO number
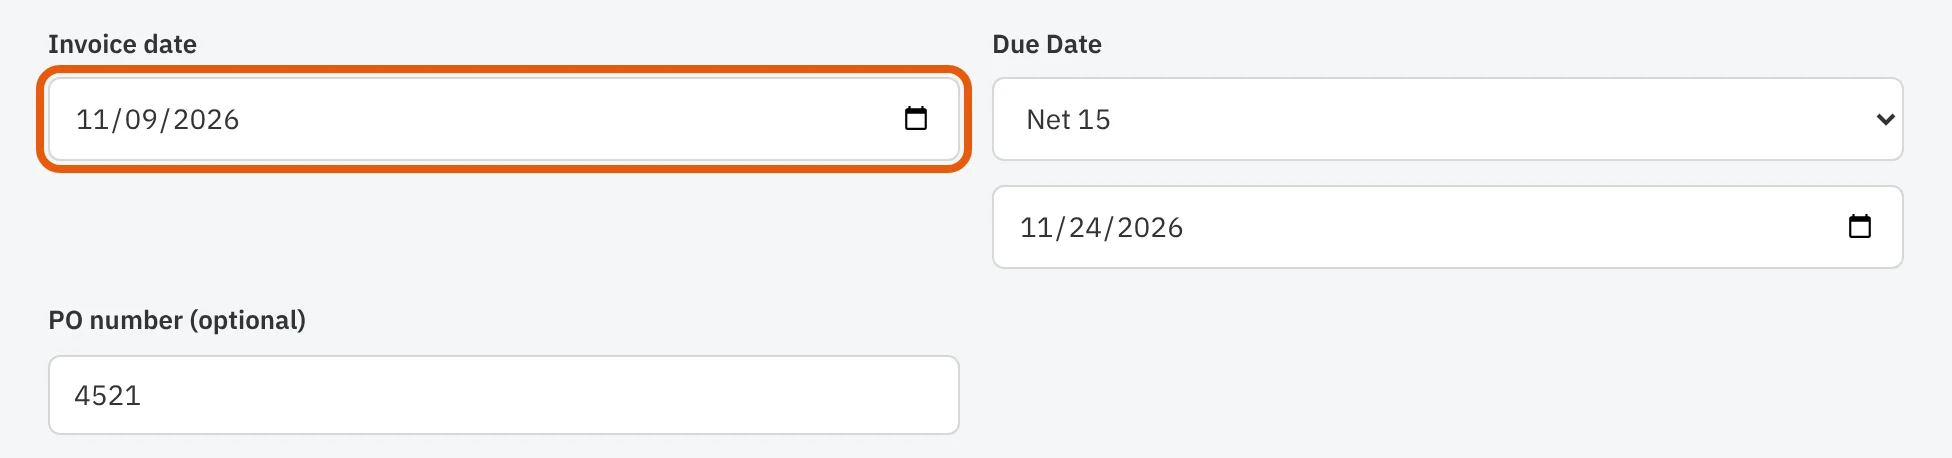
- On a new or open invoice, the Invoice date starts as today. Change it if the work was done on another day. The due date moves with it when you use payment terms like Net 14.
- If the customer gave you a purchase order, type it in PO number. It's optional.
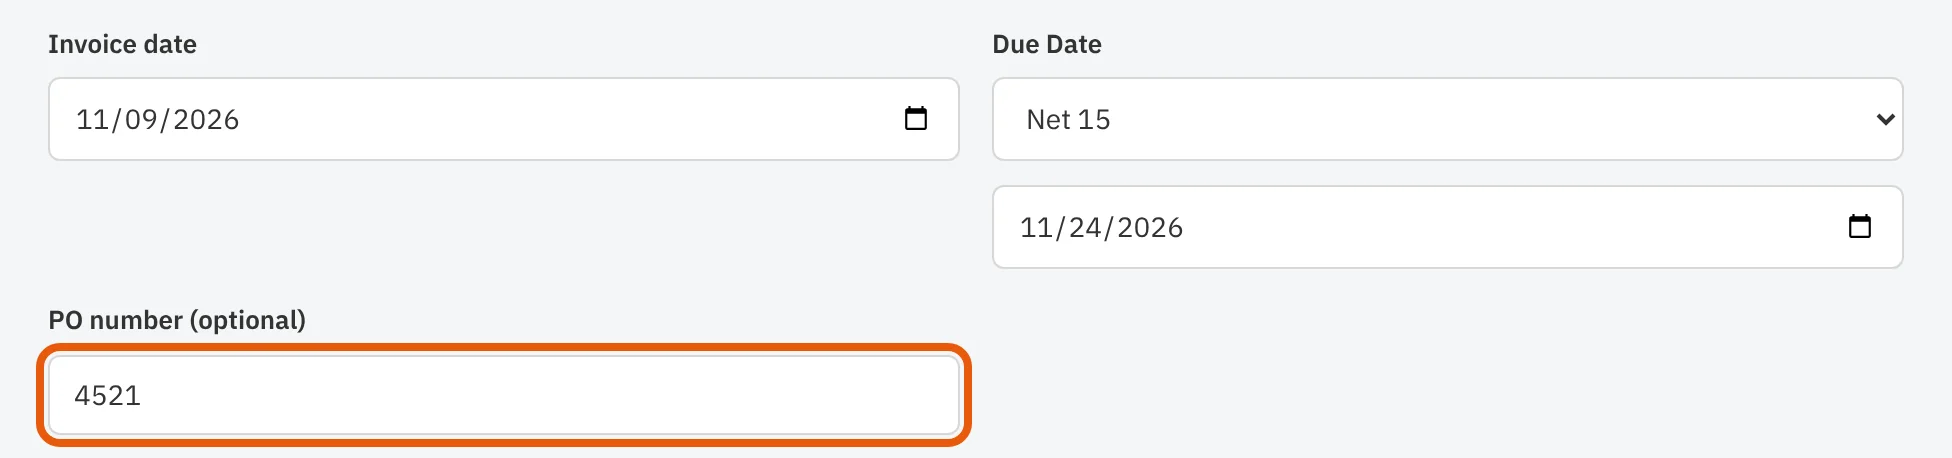
The invoice date and PO number show at the top of the invoice, on the PDF and on the customer's payment page. You can also search your invoice list by PO number.

Good to know
- Online store orders use the same running numbers, so your invoice list stays in one sequence.
- Invoices synced from Stripe keep their Stripe number.
Was this guide helpful?
Still stuck? Inside JobBills, press the round ? button to ask the help chat, or email [email protected].