How to create an invoice
Make an invoice from scratch, from a finished job or from an estimate.
From a job (most common)
- On a phone: open the ticket, go to the Finance tab and press Create invoice.
- On a computer: open the ticket and press + Create Invoice.
The items added on the job come along to the invoice.
From an estimate
Open the approved estimate and press Convert to Invoice. See Turn an estimate into an invoice.
From scratch
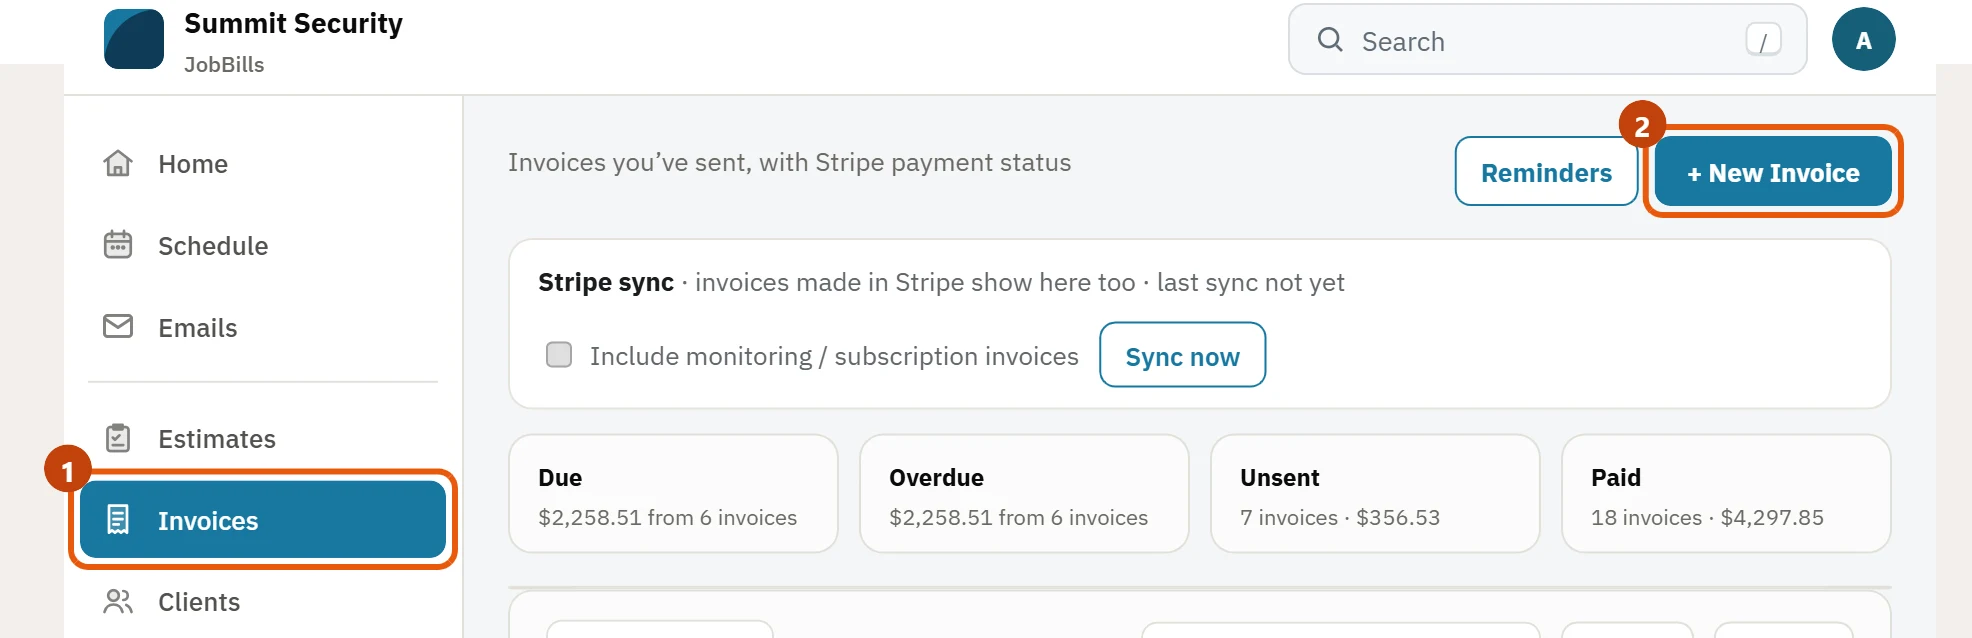
- Go to Invoices and press + New Invoice. On a phone, use the Create invoice button on Home.
- Pick the client.

- Choose the Billing address: the service address, the billing address or a custom address.
- Choose who it's Sent By.
- Check the Invoice date. It starts as today.
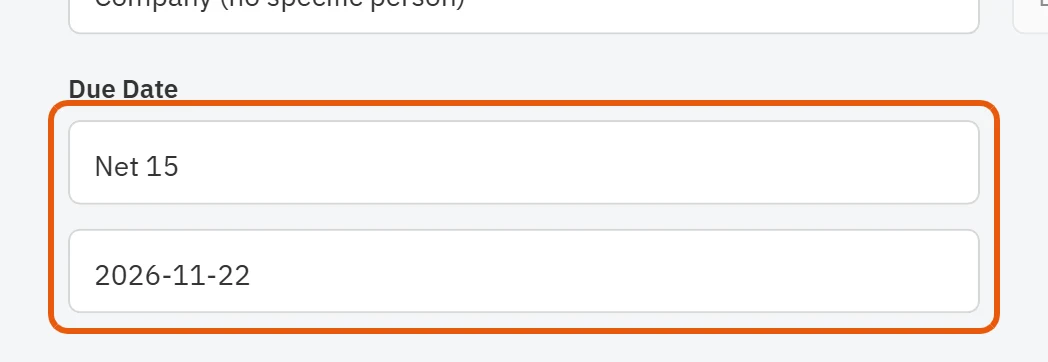
- Set the Due Date: Upon receipt, Net 7, Net 14, Net 15, Net 30, Net 45, Net 60 or a custom date.
- If the customer gave you a purchase order, type it in PO number (optional).
- Add lines from your items or type them, and add packages and a discount if needed.
- Press Save Invoice.
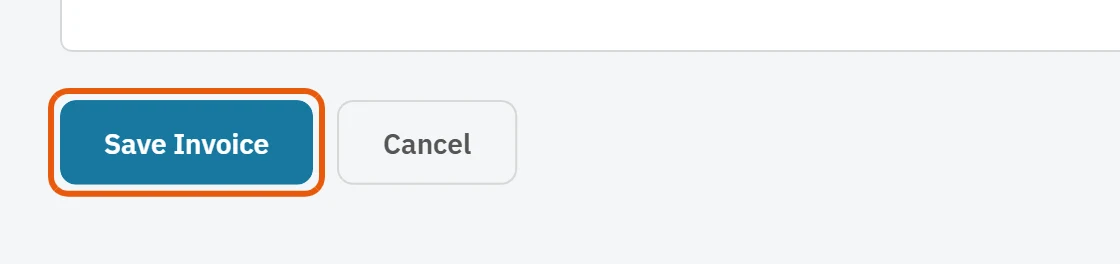
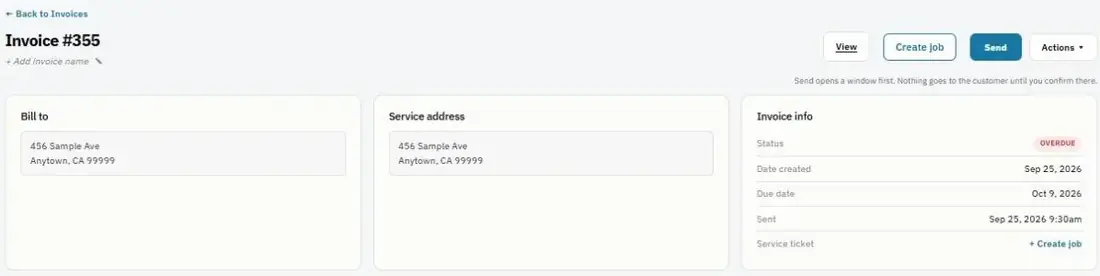
The invoice is saved as a Draft until you send it.
Preview before you save
On a computer, the Preview next to the form updates as you type. Switch between Invoice (how the PDF will look), Customer page (what the customer sees when they pay) and Email (the message filled in when you press Send). Nothing is saved or sent from the preview. On a narrow screen, press the Preview button.
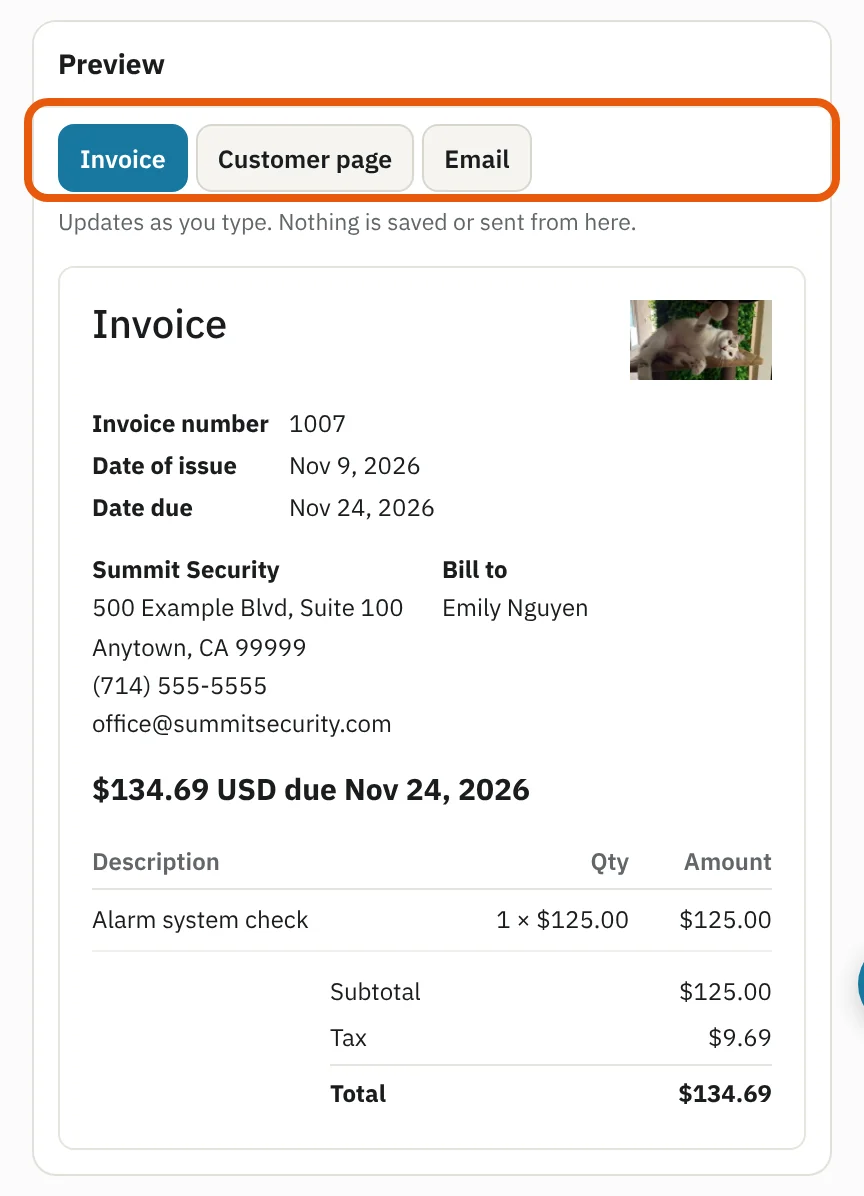
On a phone, every change saves right away, so press View to see the invoice PDF or View as customer to see the payment page.
Name an invoice
Press the ✎ next to the invoice number to give it a name, for example "Spring maintenance".